

Complete Guide · Updated For Arizona Homes
Ceramic Tile Care
Everything a Valley homeowner needs to keep ceramic tile and its grout looking new: how the material behaves, what damages it, the routine that works, and the point where restoration beats another round of scrubbing.
What Ceramic Tile Actually Is
Ceramic is fired clay with a hard glazed face. That glaze is the whole story: it is the protective, waterproof, stain resistant layer, and nearly every ceramic problem we see is either damage to that glaze or failure in the grout around it.

Ceramic is softer and more absorbent than porcelain, which makes it easier to cut and gentler on the wallet, but slightly more vulnerable to chipping. Indoors, on a sound substrate, it is one of the longest lasting floors available.
In the Valley, the two things that age ceramic are hard water mineral film and airborne grit that dulls the glaze. Both are manageable with routine, and both are fully reversible with professional restoration.
Glazed Surface
The glaze is the protection. Keep it intact and ceramic is nearly maintenance free.
Low Absorption
Glazed ceramic absorbs very little water. Grout is the porous part, not the tile.
Arizona Factor
Hard water and fine dust dull the glaze faster here than in most climates.
Long Lifespan
Well kept ceramic floors regularly run 20 plus years without replacement.
Know Which Ceramic You Have
Care changes with the finish. Identify the surface before you buy a product, because the wrong cleaner on the wrong ceramic is how most damage starts.
Glassy, colored top layer
Neutral cleaner, no sealer needed on the tile face
Glaze scratching and dulling from grit
Matte, color runs through the body
Neutral cleaner plus a penetrating sealer
Staining from oil, grease, and spills
Thin, softer body, high gloss
Non abrasive spray, soft cloth, squeegee
Soap film, hard water spotting, chipping
Ridged or sanded surface
Soft brush agitation, thorough rinse
Soil packing into the texture
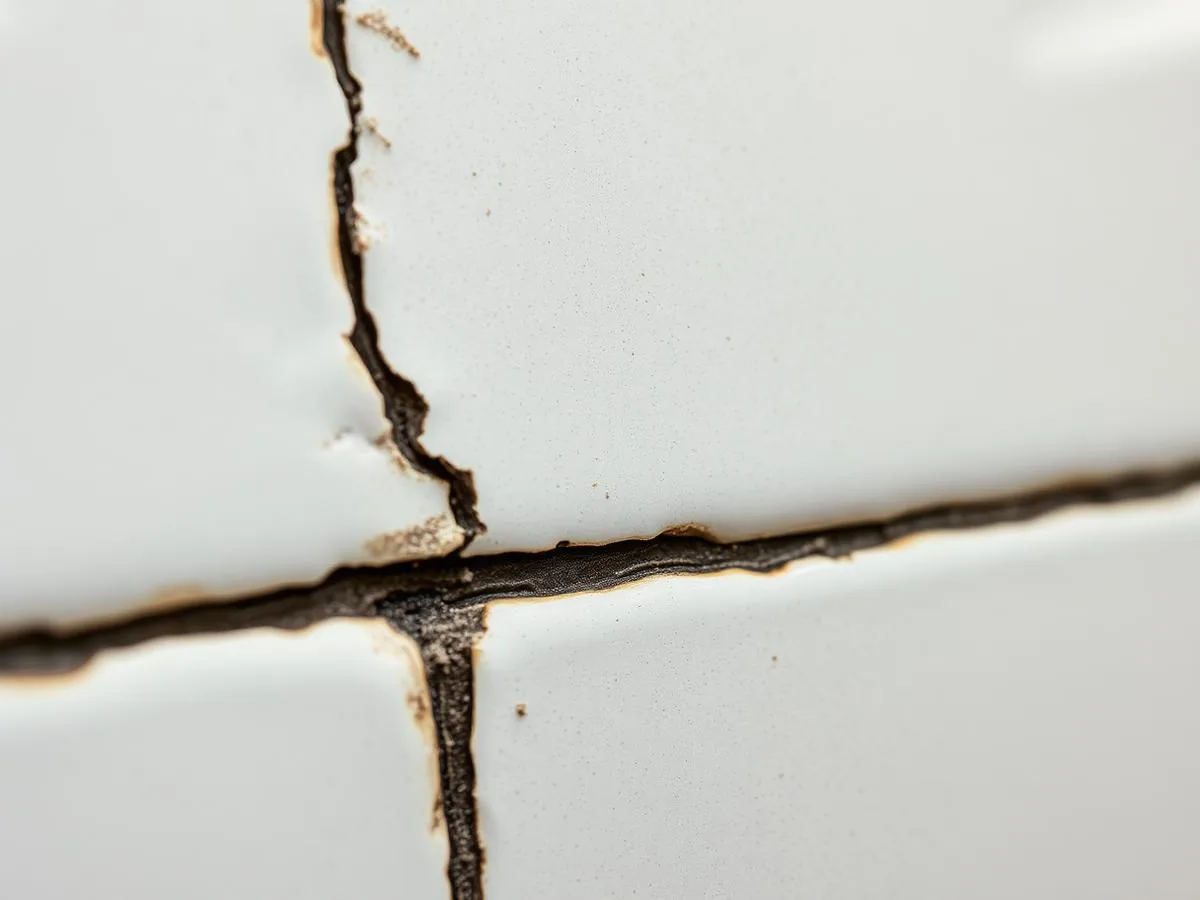
Catch It Early
Ceramic rarely fails overnight. These are the signals that the glaze, the grout, or the bond underneath is losing ground.
A Routine You Can Actually Keep
Three cadences cover almost every ceramic floor in the Valley. Keep the weekly habit and the yearly work stays small.
- Dry dust mop or vacuum on hard floor setting
- Damp mop with a neutral pH cleaner
- Wipe splash zones at the sink and stove
- Detail the grout lines in traffic lanes
- Check caulk at tub, shower, and counter joints
- Rinse mats and entry rugs that trap grit
- Professional grout restoration and color check
- Re-seal grout and any unglazed tile
- Inspect for loose, cracked, or hollow tiles
The Deep Clean Process
This is the sequence a professional follows, scaled to a homeowner. Skipping the extraction and rinse steps is why most deep cleans do not hold.
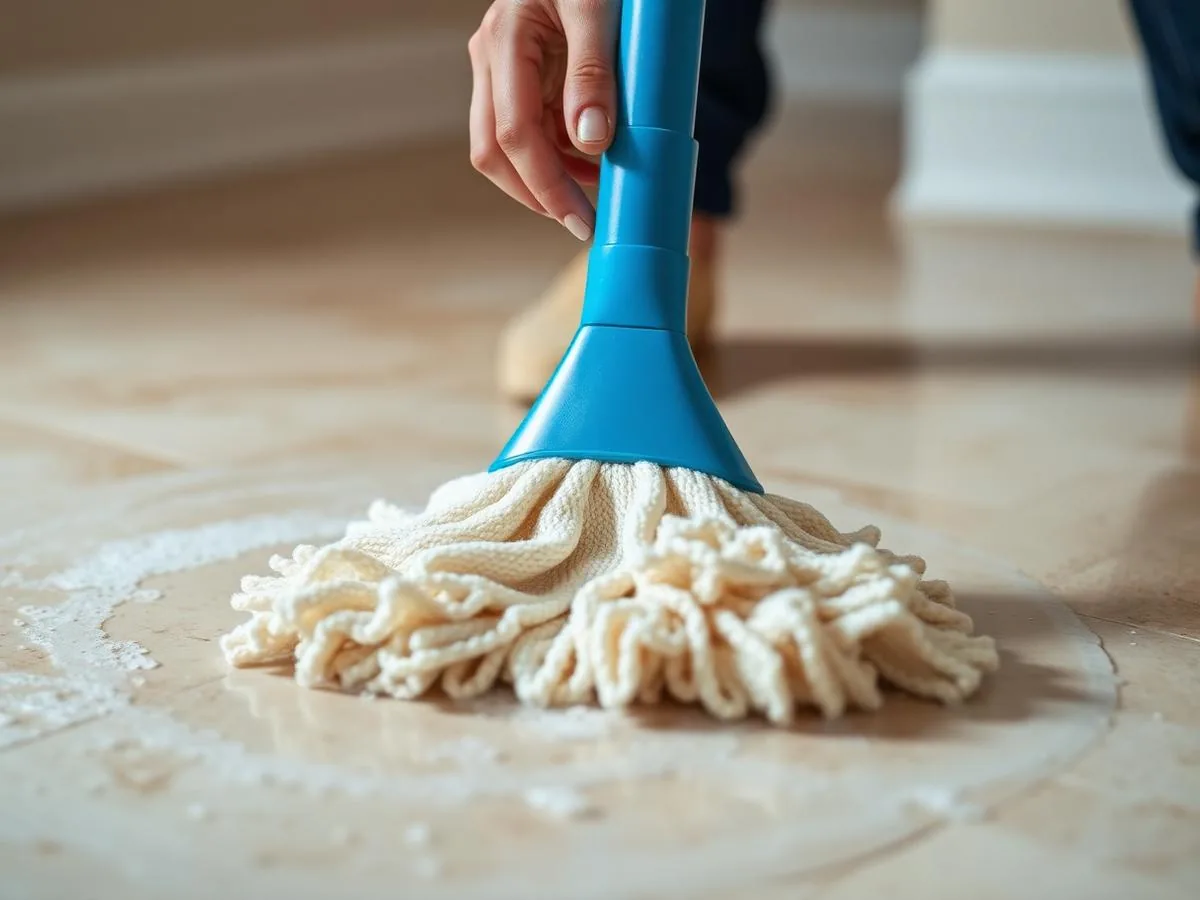
- 01
Clear And Dry Sweep
Remove everything from the floor and vacuum thoroughly. Any grit left behind turns into sandpaper under a mop.
- 02
Apply Neutral Cleaner
Mix to label strength and spread evenly. Let it dwell five to ten minutes so soil releases instead of smearing.
- 03
Agitate The Joints
Work grout lines with a stiff nylon brush. Never use wire or metal, which scores both grout and glaze.
- 04
Extract, Do Not Spread
Lift the dirty solution with a wet vacuum or clean rinse water changed often. This is the step most people skip.
- 05
Clear Water Rinse
A final rinse removes cleaner residue, the same residue that causes rapid re-soiling and haze.
- 06
Dry And Inspect
Dry with microfiber, then look across the floor at a low angle to spot any remaining film or damaged joints.
Grout Is Where Ceramic Fails
The tile is glass hard. The cement between it is not. Grout absorbs, abrades, and discolors, which is why a floor can read as dirty when every tile is perfectly clean.
- Seal grout after every professional restoration
- Color sealing both protects and evens out the shade
- Replace failing caulk at every change of plane
- Never let standing water sit along a joint
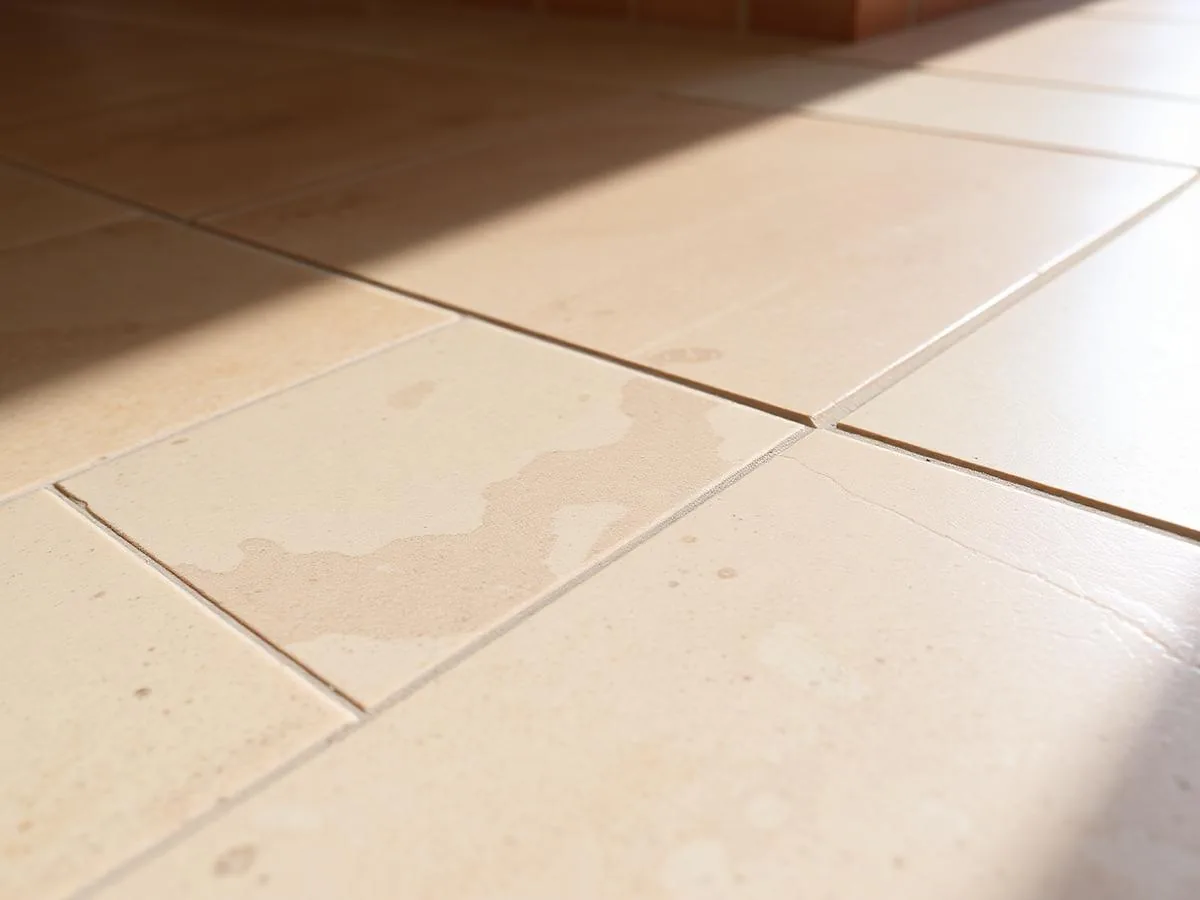
Stain Chart
Match the stain to the method. When in doubt, test in a closet or under an appliance before treating an open floor.
Coffee, tea, wine
Neutral cleaner, then a hydrogen peroxide poultice on the grout
Grease and cooking oil
Alkaline degreaser with dwell time, followed by a full rinse
Hard water and soap film
Mild acidic cleaner on glazed tile only, never on natural stone trim
Rust
Dedicated rust remover, spot tested. Do not scrub with abrasives
Mold and mildew
Address the moisture source first, then treat and ventilate the room
Paint, grout haze, adhesive
Professional removal. Solvents and scrapers ruin glaze fast
Do This, Never That
Do
- Use neutral pH cleaners made for tile and grout
- Place walk off mats at every exterior door
- Blot spills quickly rather than letting them sit
- Change mop water as soon as it looks cloudy
- Felt pad furniture legs and appliance feet
Don't
- Bleach or ammonia routines that erode grout
- Oil soaps and wax finishes that build a dull film
- Steel wool, scouring pads, or abrasive powders
- Steam mops on loose tile or cracked grout
- Vinegar as an everyday cleaner near stone trim
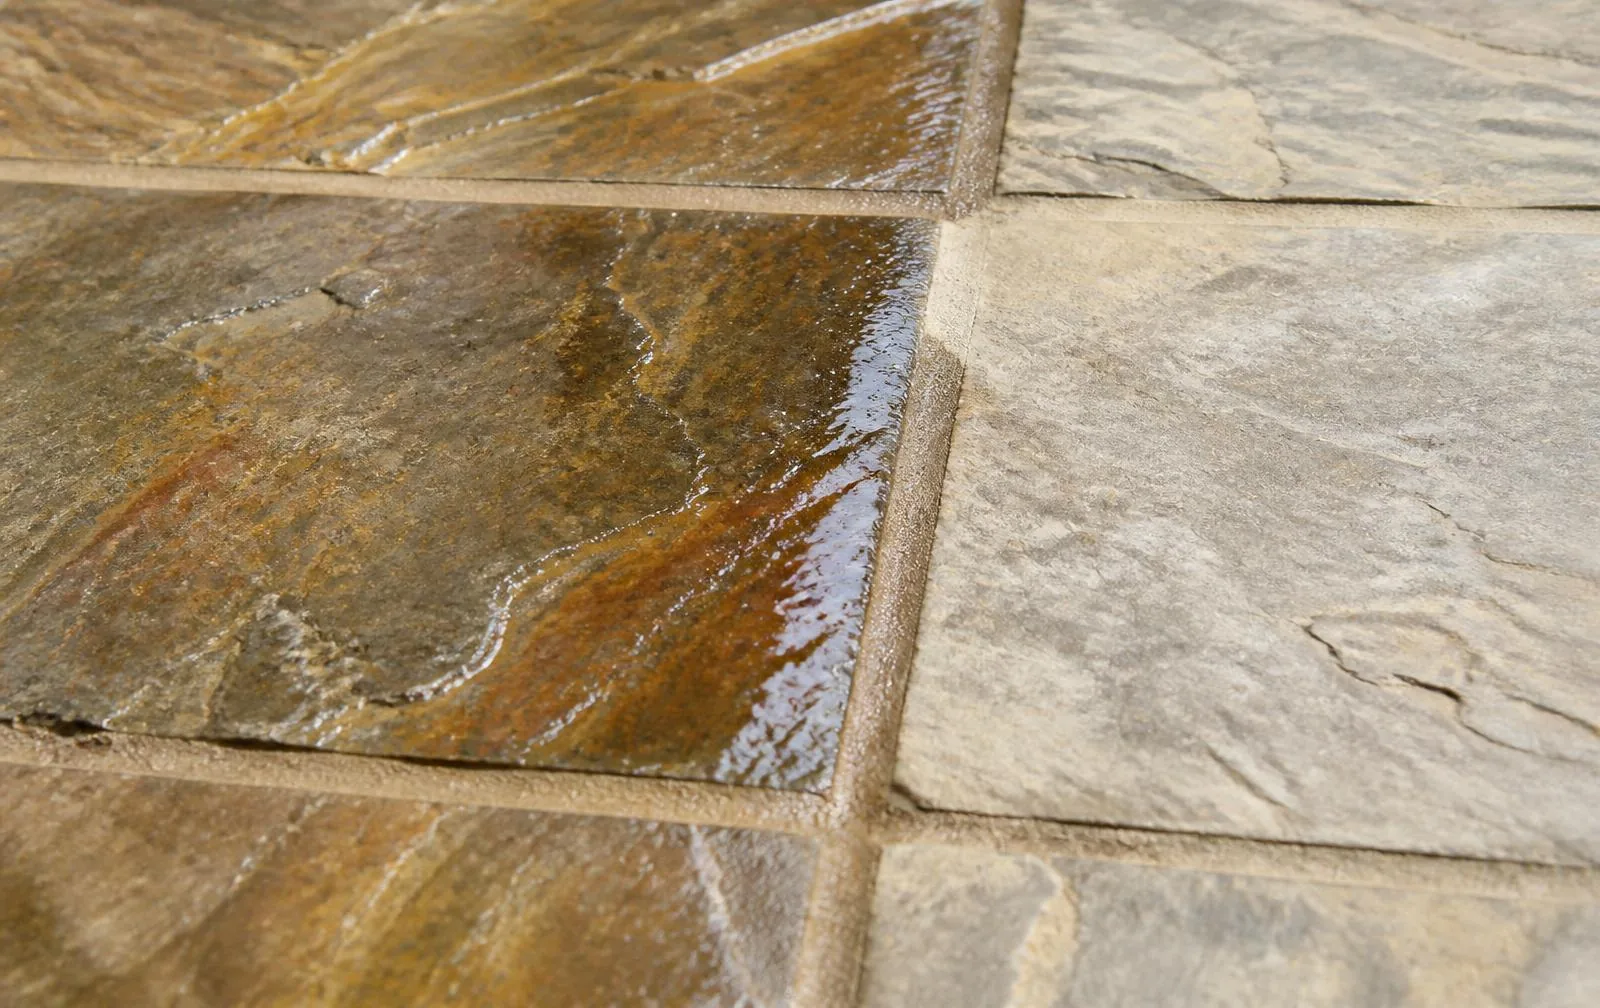
What Actually Gets Sealed
A common misunderstanding: glazed ceramic tile does not need sealer. The grout does, and unglazed ceramic does.
Glazed Tile Face
No sealer. The fired glaze is already non porous, and topical products only create a film that peels.
Cement Grout
Penetrating or color sealer after every restoration. Expect one to three years depending on traffic.
Unglazed Ceramic
Penetrating sealer, reapplied on a schedule. Test with a water drop: if it darkens, it is time.
When To Call A Pro
Homeowner care handles maintenance. These four situations are restoration work, and waiting on them almost always raises the cost.
Grout That Will Not Come Clean
If two thorough attempts fail, the grout is worn or absorbed the soil. Restoration and color sealing is the fix.
Loose Or Hollow Tiles
A failing bond spreads. Re-setting a few tiles now costs far less than a full floor later.
Cracks Along A Line
Straight line cracking usually points to a movement or substrate issue that needs assessment first.
Haze That Keeps Returning
Almost always residue or hard water build up. Commercial extraction resets the surface in one visit.
Want A Read On Your Floor?
Free assessment across Scottsdale and the greater Phoenix Valley.
Ceramic Tile Questions
Related Pages
Porcelain Tile Care
Placeholder overview. Real content for this guide is being written by the field team and will replace this text.
Learn moreTravertine Care
Placeholder overview. Real content for this guide is being written by the field team and will replace this text.
Learn moreGrout Cleaning & Sealing
Grout is the most porous part of almost every tile floor. How to deep clean it, when to reseal, and how to tell when it has failed beyond cleaning.
Learn moreReady when you are
RESTORE YOUR STONE.
GET A FREE BID.
Design-builds, restoration projects, specialty projects, and remodels across the Valley · Family-owned and locally operated.
- Mon–Fri · 7am to 4pm
- Sat · Closed
- Sun · Closed