
Case 01
Symptom
Dark, Dingy Grout Lines Despite Mopping
Likely Cause
The sealer has worn off, so the grout is absorbing dirt and mop water directly into the joint.
Fix
Deep clean, then reseal.

Complete Guide · Updated For Arizona Homes
Grout is the most porous, most neglected part of almost every tile floor. Cleaning it is one job, sealing it is another, and knowing when it has failed beyond both is the part most homeowners miss.
Cement based grout absorbs moisture, dirt, and stains far more readily than the tile surrounding it, which is why nearly every material guide on this site eventually points back here.
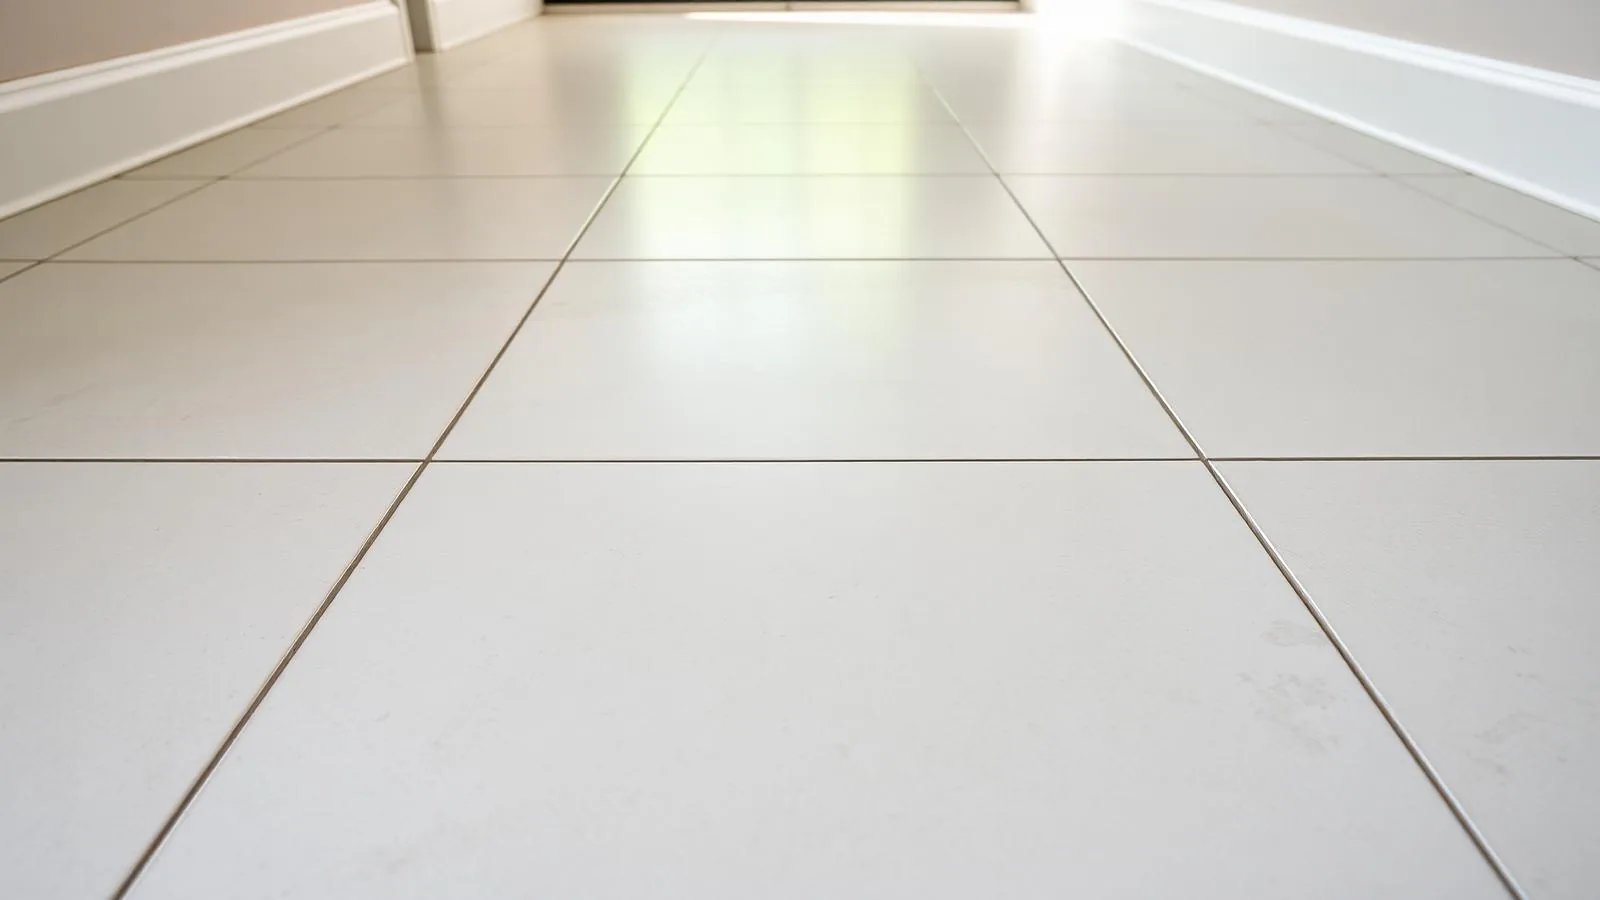
Grout is a porous cement product sitting slightly below the tile face, which makes it the low point where water, mop residue, and soil naturally collect. Even on tile that needs no sealer at all, the joints between the tile do.
This page covers grout care as its own subject: cleaning it properly, sealing it on a real schedule, and recognizing the point where grout has failed structurally and cleaning will never bring it back.
More absorbent than most of the tile it sits between, which is why it darkens first.
Cement grout needs sealing. Epoxy grout is non porous and does not, but it is far less common in Valley homes.
The standard interval for cement grout in a normally used home. Wet areas and kitchens run shorter.
When a mopped floor still reads as grimy, the grout lines are almost always the reason.
Grout tells you what is wrong with it if you read the symptom correctly. Match what you are seeing to the likely cause before you buy a product.
Symptom
Likely Cause
The sealer has worn off, so the grout is absorbing dirt and mop water directly into the joint.
Fix
Deep clean, then reseal.
Symptom
Likely Cause
The grout has failed structurally, usually from long term water intrusion behind or beneath the joint.
Fix
Regrouting is needed, not cleaning.
Symptom
Likely Cause
Efflorescence: mineral deposits carried to the surface by hard water and moisture movement.
Fix
Efflorescence remover, then reseal.
Symptom
Likely Cause
Moisture trapped in porous, unsealed grout, most often in showers and other poorly ventilated wet areas.
Fix
Oxygen based cleaner, improve ventilation, reseal.
Symptom
Likely Cause
Inconsistent old sealer application, or staining that only took hold in part of the run.
Fix
Full strip and even reseal, or a color sealing product.
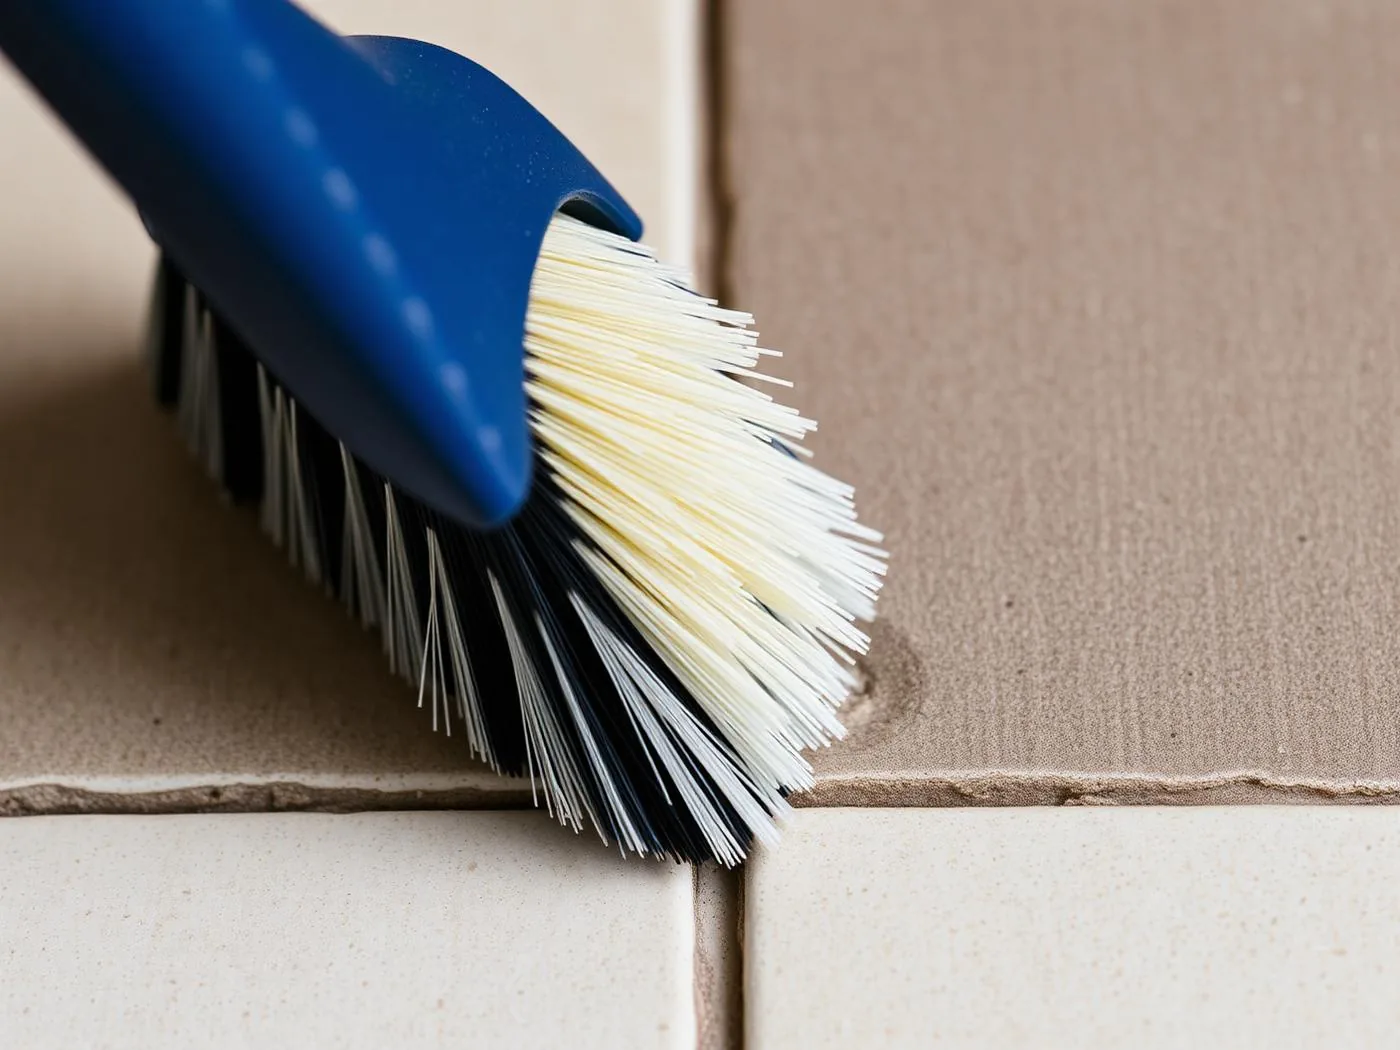
These four signals mean the grout has moved past routine maintenance. Cleaning harder will not fix any of them.
A short, specific list. The right brush and the right pH matter more than how hard you scrub.
Metal brushes cut into the cement and open the joint further, which speeds up exactly the failure you are trying to prevent. Nylon only.
Work the whole run in order. Skipping the drying step is the most common reason a fresh sealer coat fails within months.
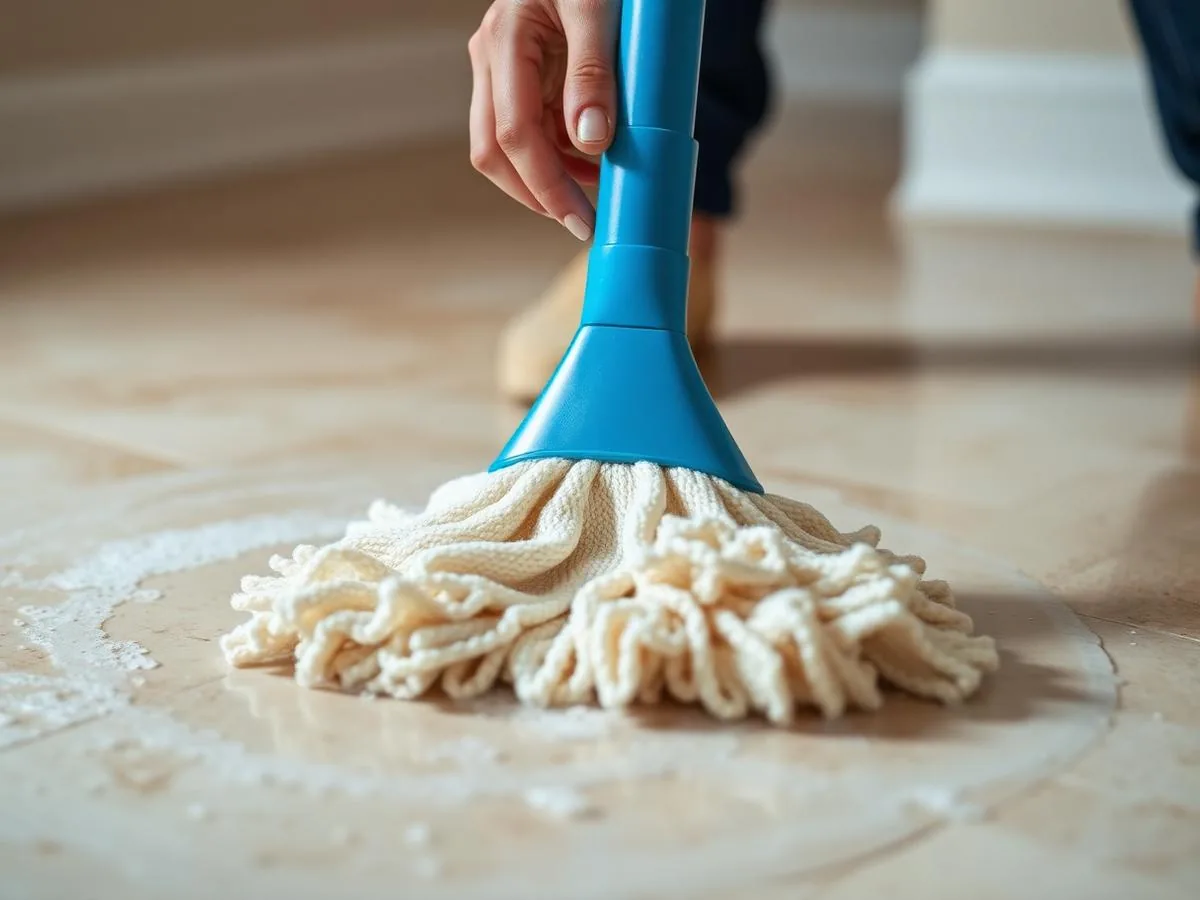
Remove loose grit first so you are not grinding it into the joint during scrubbing.
pH neutral grout cleaner for general soil, oxygen based cleaner where mold or mildew is present.
Work along each joint with a stiff nylon brush. Consistency across the run matters more than pressure.
Clean water, changed often. Leftover cleaner residue attracts soil and reads as dinginess within weeks.
Let the joints dry fully, then assess whether resealing is actually needed before buying product.
Apply penetrating sealer in thin, even coats once fully dry, wiping any excess off the tile face as you go.
Match the treatment to the stain. Reaching for bleach by default costs you sealer life and rarely solves the actual problem.
pH neutral grout cleaner with a stiff nylon brush along every joint.
Oxygen based cleaner, often needing a repeat treatment before the discoloration fully lifts.
A dedicated efflorescence remover, not bleach. Bleach does nothing to mineral deposits.
Degreasing cleaner with real dwell time before scrubbing, so the grease releases instead of smearing.
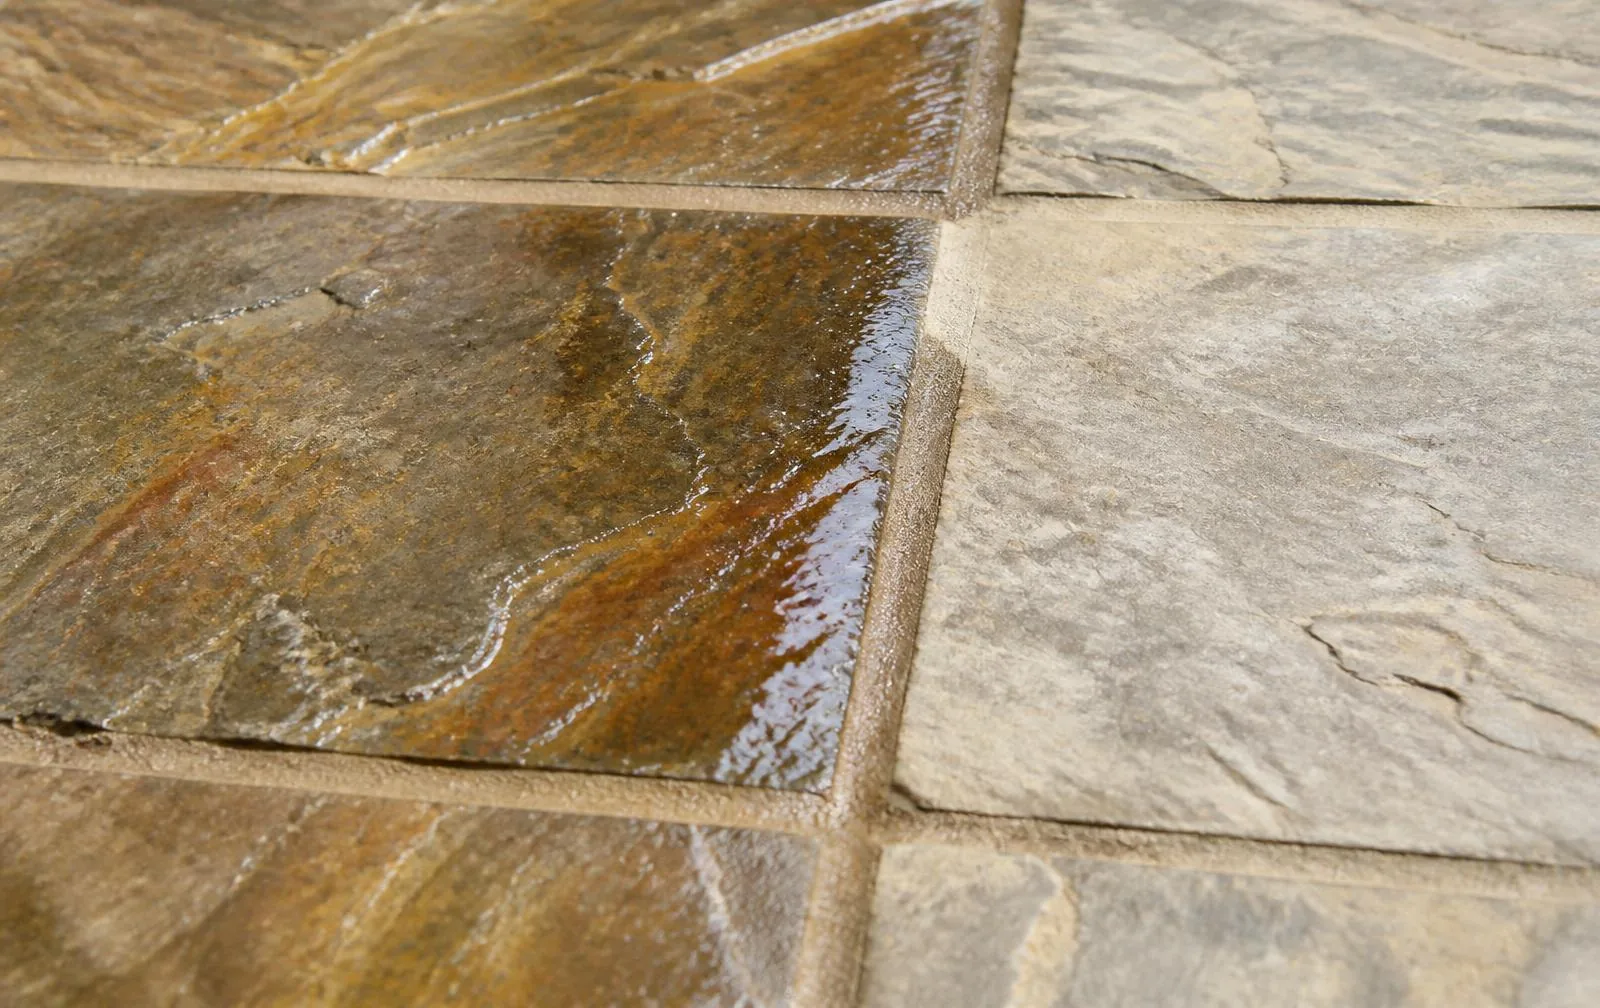
Grout lines specifically, even on tile types where the tile face itself needs no sealer at all.
Cement grout is porous on every installation. It is the part of the floor that genuinely needs a sealer.
The tile face is already sealed by the glaze or body. The grout between it is not, and that is the whole job.
Both the stone and the grout get sealed, but on different intervals. The grout usually needs it sooner.
Homeowner care handles maintenance. These situations are restoration work, and waiting on them almost always raises the cost.
Grout that is crumbling or missing across multiple joints is a regrouting job, not a cleaning job.
Recurring mold within weeks of cleaning means moisture is sitting somewhere you cannot reach with a brush.
Visible erosion where grout sits lower than the tile face usually calls for regrouting the affected runs.
Large scale discoloration that does not respond to cleaning or resealing typically needs color sealing or replacement.
Want A Read On Your Grout?
Free assessment across Scottsdale and the greater Phoenix Valley.
Shower grout and caulk fail years before the tile does. What a real restoration involves, phase by phase, and when a deep clean is enough.
Learn morePlaceholder overview. Real content for this guide is being written by the field team and will replace this text.
Learn moreThe master sealing reference: penetrating vs topical sealers, and reseal frequency for every material in this Resource Center.
Learn moreReady when you are
Design-builds, restoration projects, specialty projects, and remodels across the Valley · Family-owned and locally operated.